This is the Lunch Sack. Designed after a brown paper bag, but so much prettier. I made one for each child, but the kindergartener NEEDED the Buzz Lightyear metal one. This one is for me, and now I have the best "brown bag" in the fridge at work.
Bare with me, this is my very first tutorial.
What you will need:
2 pieces of fabric measuring 24" x 12" (one is you cover, the other is lining)
1 piece of interfacing measuring 24" x 12" (use heavier weight for more stability)
Small tab of Velcro (optional)
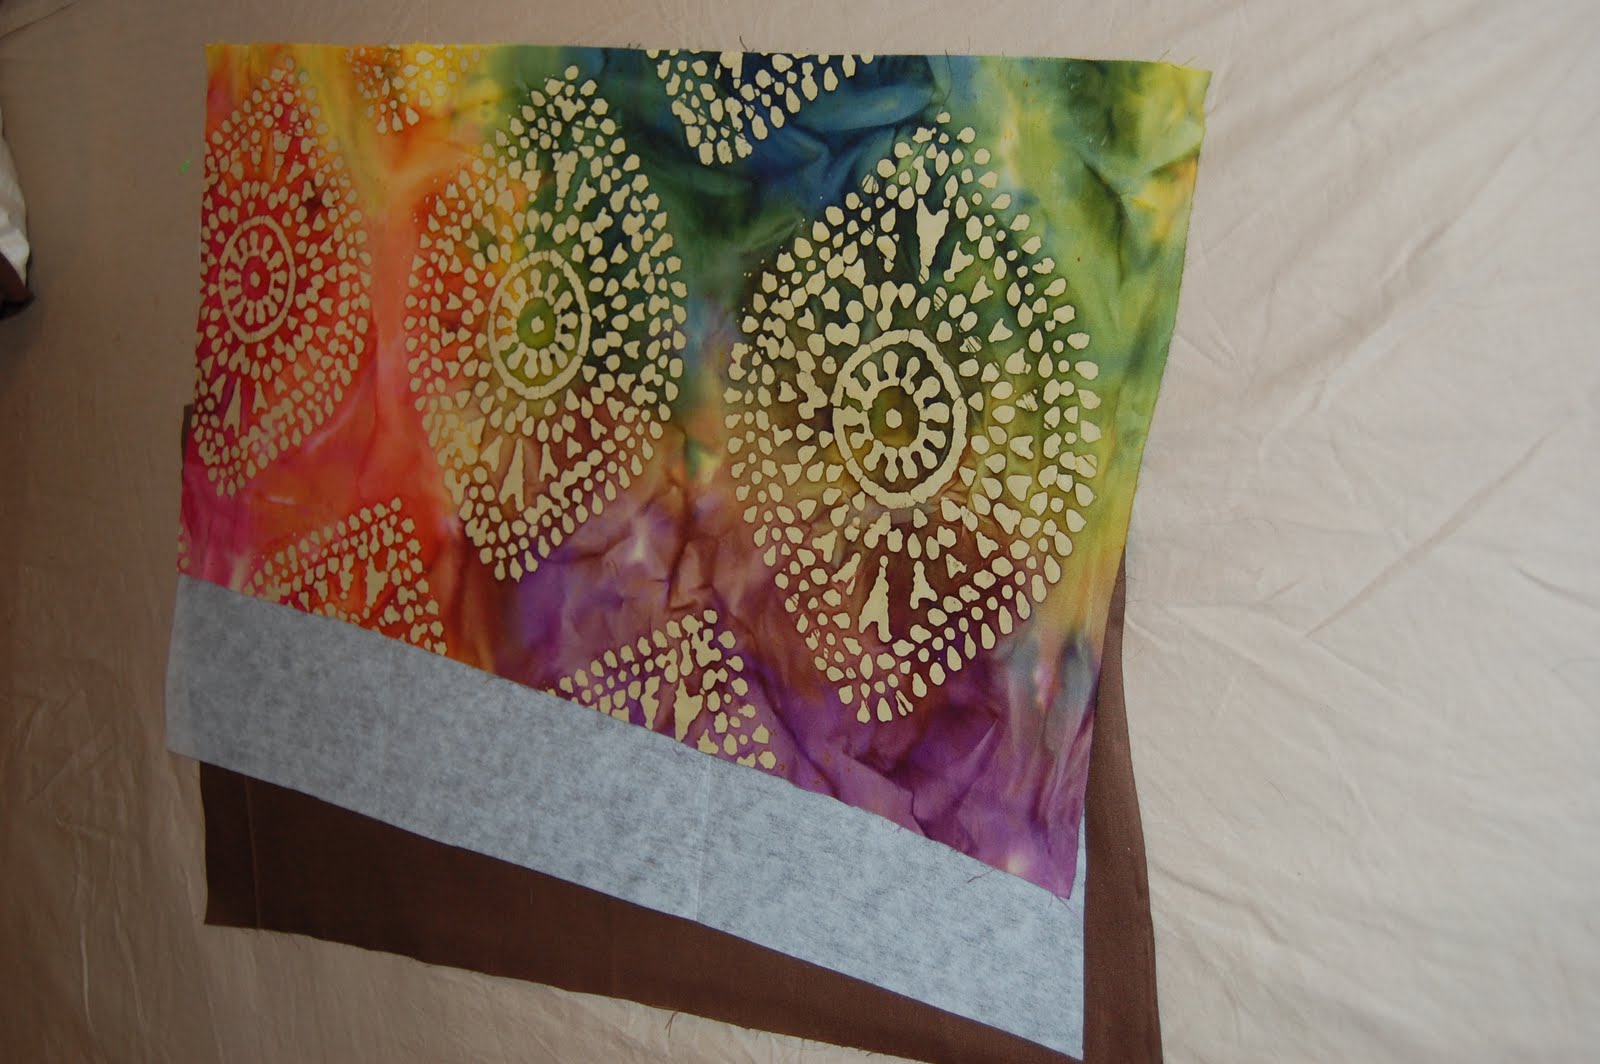
1.) First, cut out your pieces. I have chosen this great fabric that was a remenant at Joanne's. I also used a medium weight interfacing.
2.) With right sides together and interfacing placed on the lining side, sew together three sides. Turn right side out and press.
3.)At this point, you have two options. You could sew up the sides and have and extra detail of the liner showing on the outside, or you could turn inside out and sew up the edges making a nice clean seam. I chose the first option.
4.)This step is a little hard to see, but I have pleated the bottom. Once folded, liner side out, take the side seams and fold so the seam is verticle and in the middle of the fabric. Sew across the fabric, one inch above to tip. This should make a triangle. If you have chosen the side seams on the outside, be sure to have to liner edges pressed outwards before you do this, or else your seam will not look right. This step creates the bottom of you bag and makes the space you need to hold your lunch.
5.) To do the flap of the sack, fold inward the edges as shown from the top of the bag section and taper inwards. This creates an angle of your flap. Press and pin once folded. Carefully fold the top of the flap in. Again, press and pin. Top stitch around the edges starting at the top of the bag. I also topstitched across the back of the bag where the flap starts, thus making a natural crease in which the flap to fold over.
6.) Since I wanted a "sack", I stopped here. But, you can add a tab of Velcro to the top of the bag and flap for closure.
7.) Lastly, I like nice clean edges. So, I folded each side to make creases that you would find in a brown paper bag. Simply fold where needed and topstitch very close to the edge. I did the same with the base. This makes my bag hold it's shape well, even with odd sized items inside.
This photo shows the details of the edges. I gently tapered the back to meet up close to the seam.
Happy Sewing!


No comments:
Post a Comment